I imagine anyone who buys their first home goes though what I am going though now. What is it you ask? I’ll tell you; its the thought that you’re going to fix everything yourself because you’re stubborn and know better than a tradesperson who has years of experience. You justify buying an arsenal of tools by saying that you’ll use them all the time, when in reality you’ll use them once then they will sit in the garage never to be touched again. In the end you end up spending more money on the tools and parts than it would have cost to call a professional. I, for one, fully accept this new found lifestyle… because life is about the journey, not the destination.
One of the many (51 to be exact) projects on my list is to build a workbench. I keep thinking about the video game Minecraft, where the workbench is one of the first things you build. After crafting the workbench you use your workbench to create bigger, more useful things. That’s what I intend on doing with my workbench.
I have a garage, but I don’t have a ton of space to store things and I didn’t want to turn half the garage into a dedicated workshop. I don’t have much woodworking experience, in fact the only woodworking experience I can even recall is building a pinewood derby car for Cub Scouts which might as well have been a million years ago. I’m willing to buy tools and spend the money for mid to high end tools and materials where it makes sense. I have a mid-sized car where the back seat folds down and I’m not willing to rent anything bigger to transport materials. Thinking about all of these things I came up with the following criteria:
The workbench needs to be mobile
It can’t be too big
It can’t be too complicated to build
The longest 2.x 4 I can fit in my car is 8’
The largest sheet of plywood I can fit is 3’ x 6’
So where does one go from there? YouTube of course. After spending hours watching all kinds of builds, from hand made benches based on designs from the 1700s, to the weekend DIYer who documented their process, I ended up making the same decision that many have before me. That is to use Steve Ramsey’s Basic Mobile Workbench design. The design checked all my boxes and the design that Steve put together is easy enough to follow.
As I’m writing this I estimate I’m about halfway though the project. I didn’t start documenting it till after I had milled up the 2 x 4s down into smaller parts. I’ve been spending 1-3 hours a day after work on this project. I think I have about 6 hours into the project so far. Its a great escape after working with people and computers all day.
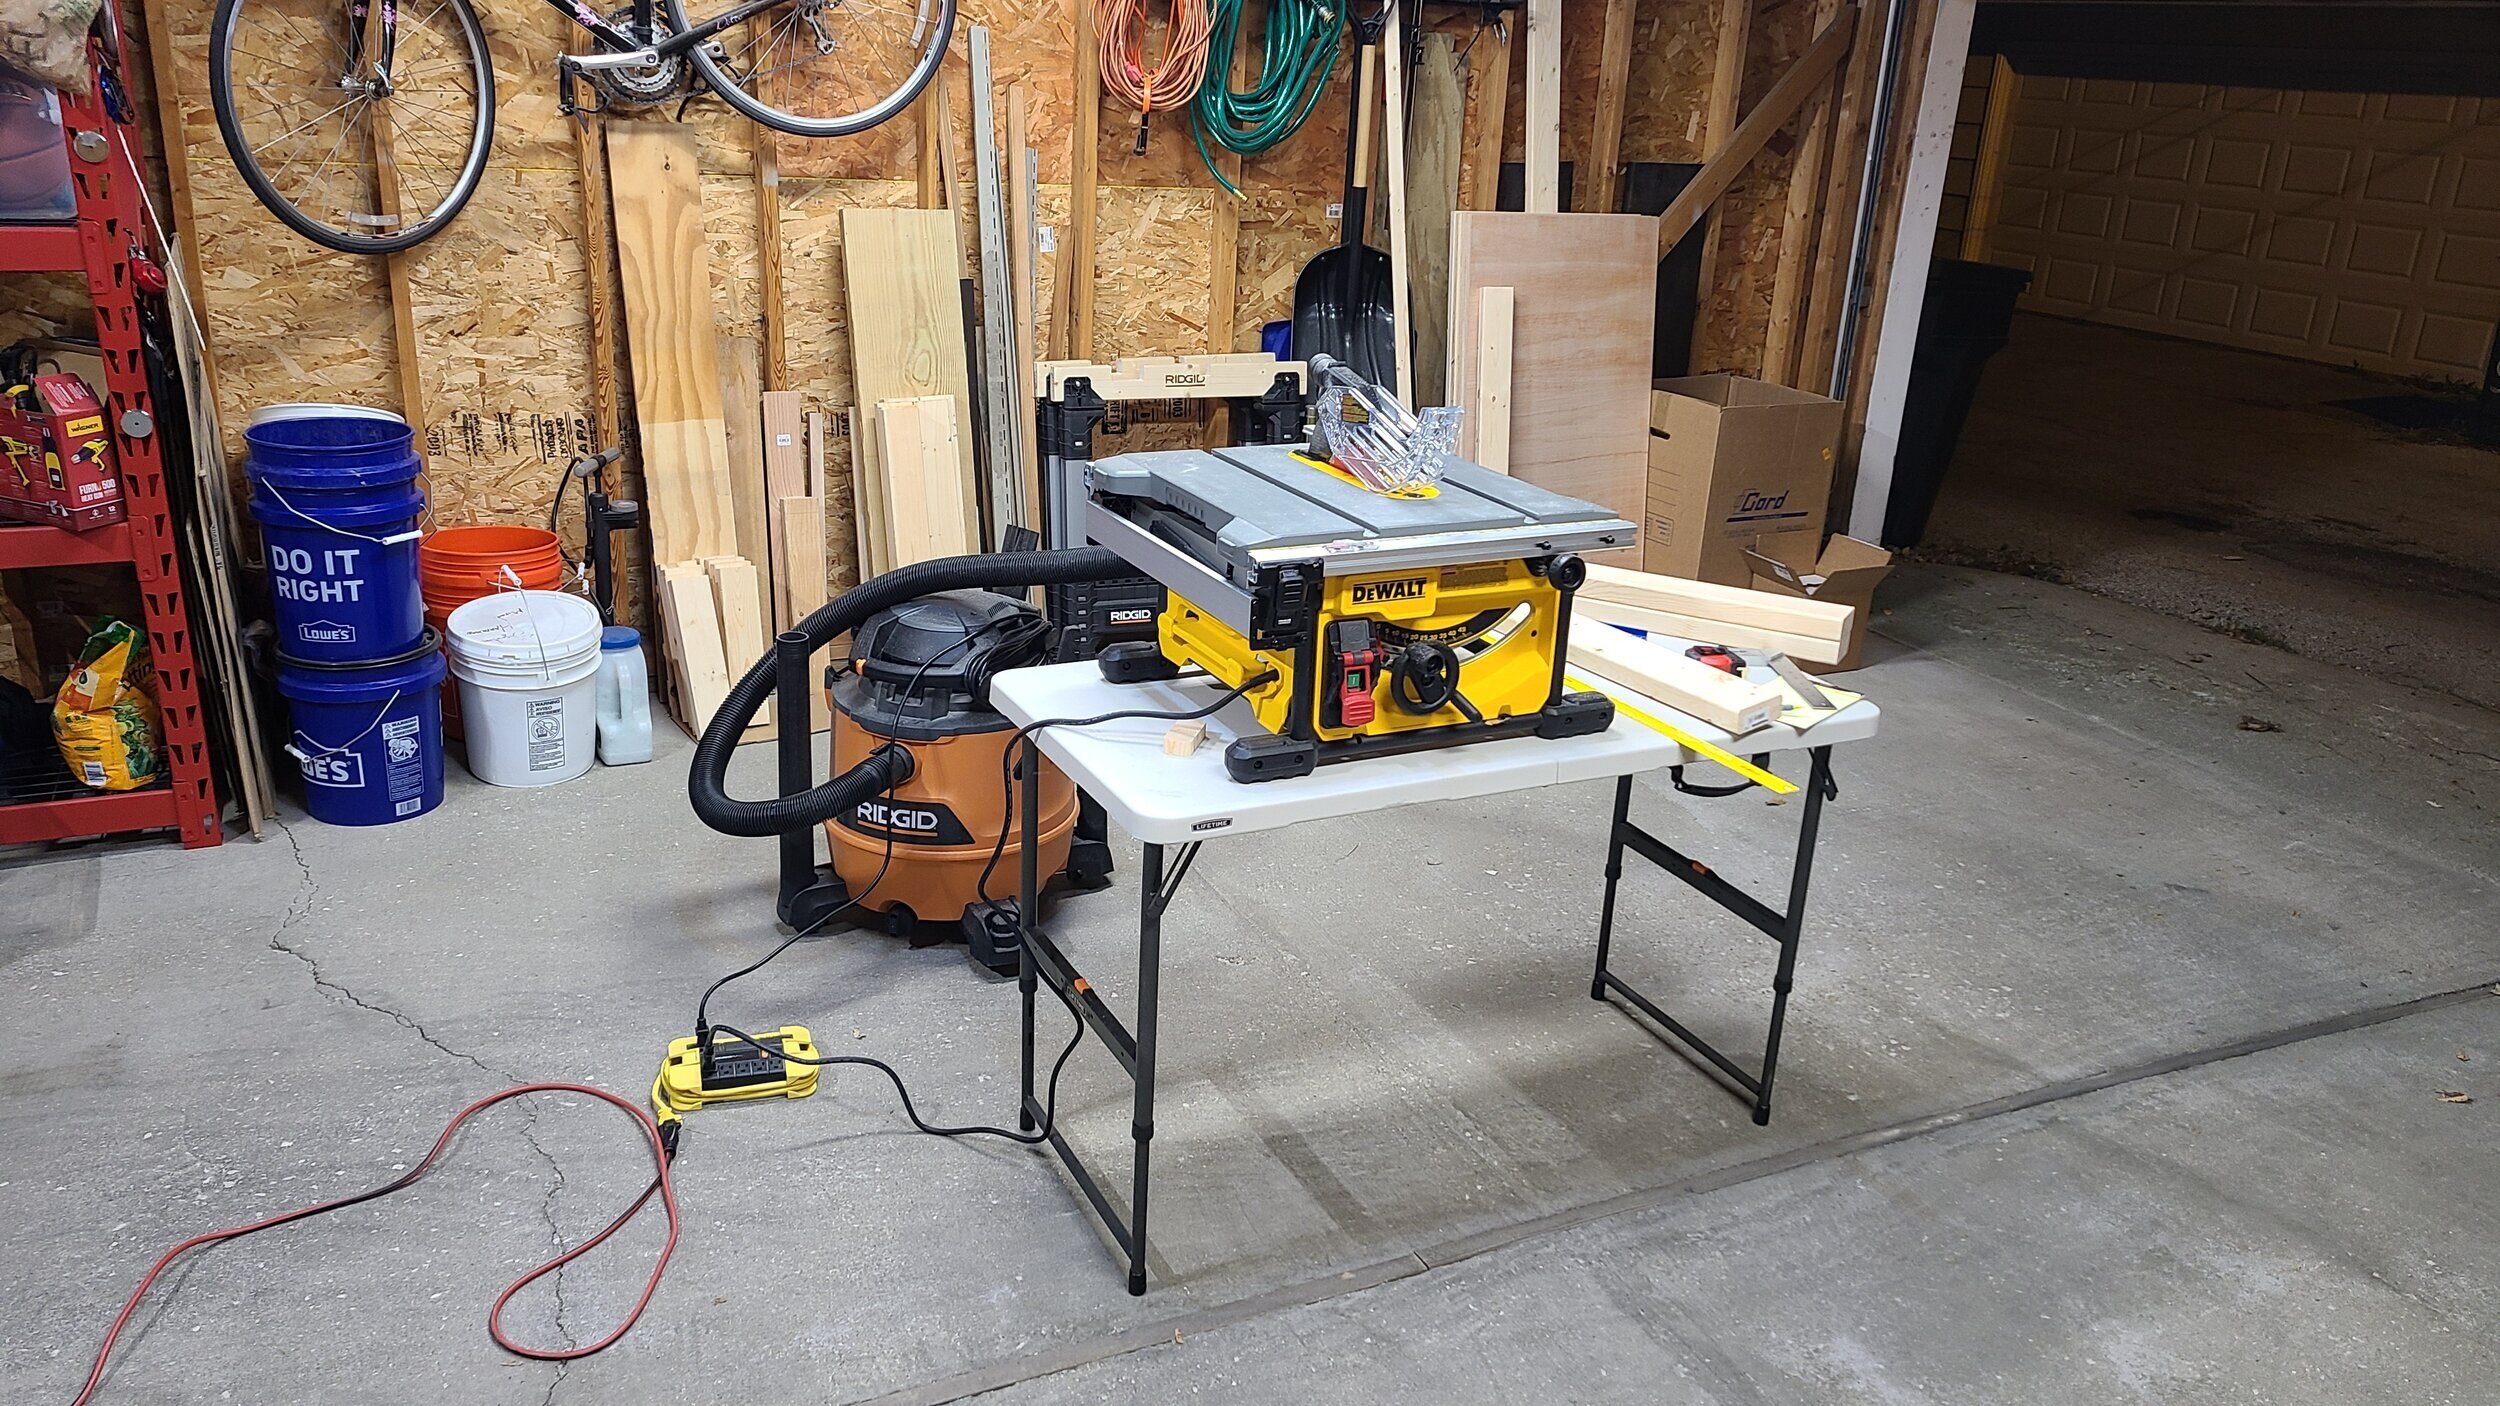
Here’s my table saw, its the DeWalt 7485
This was my first experience with a table saw. After watching tons of videos about kickback, I was quite nervous to use it at first. I turned it on and off several times before making any cuts just to get a feel for how it operates. Once I actually made my first cut I was surprised how easily it cuts though wood, it really is like butter.
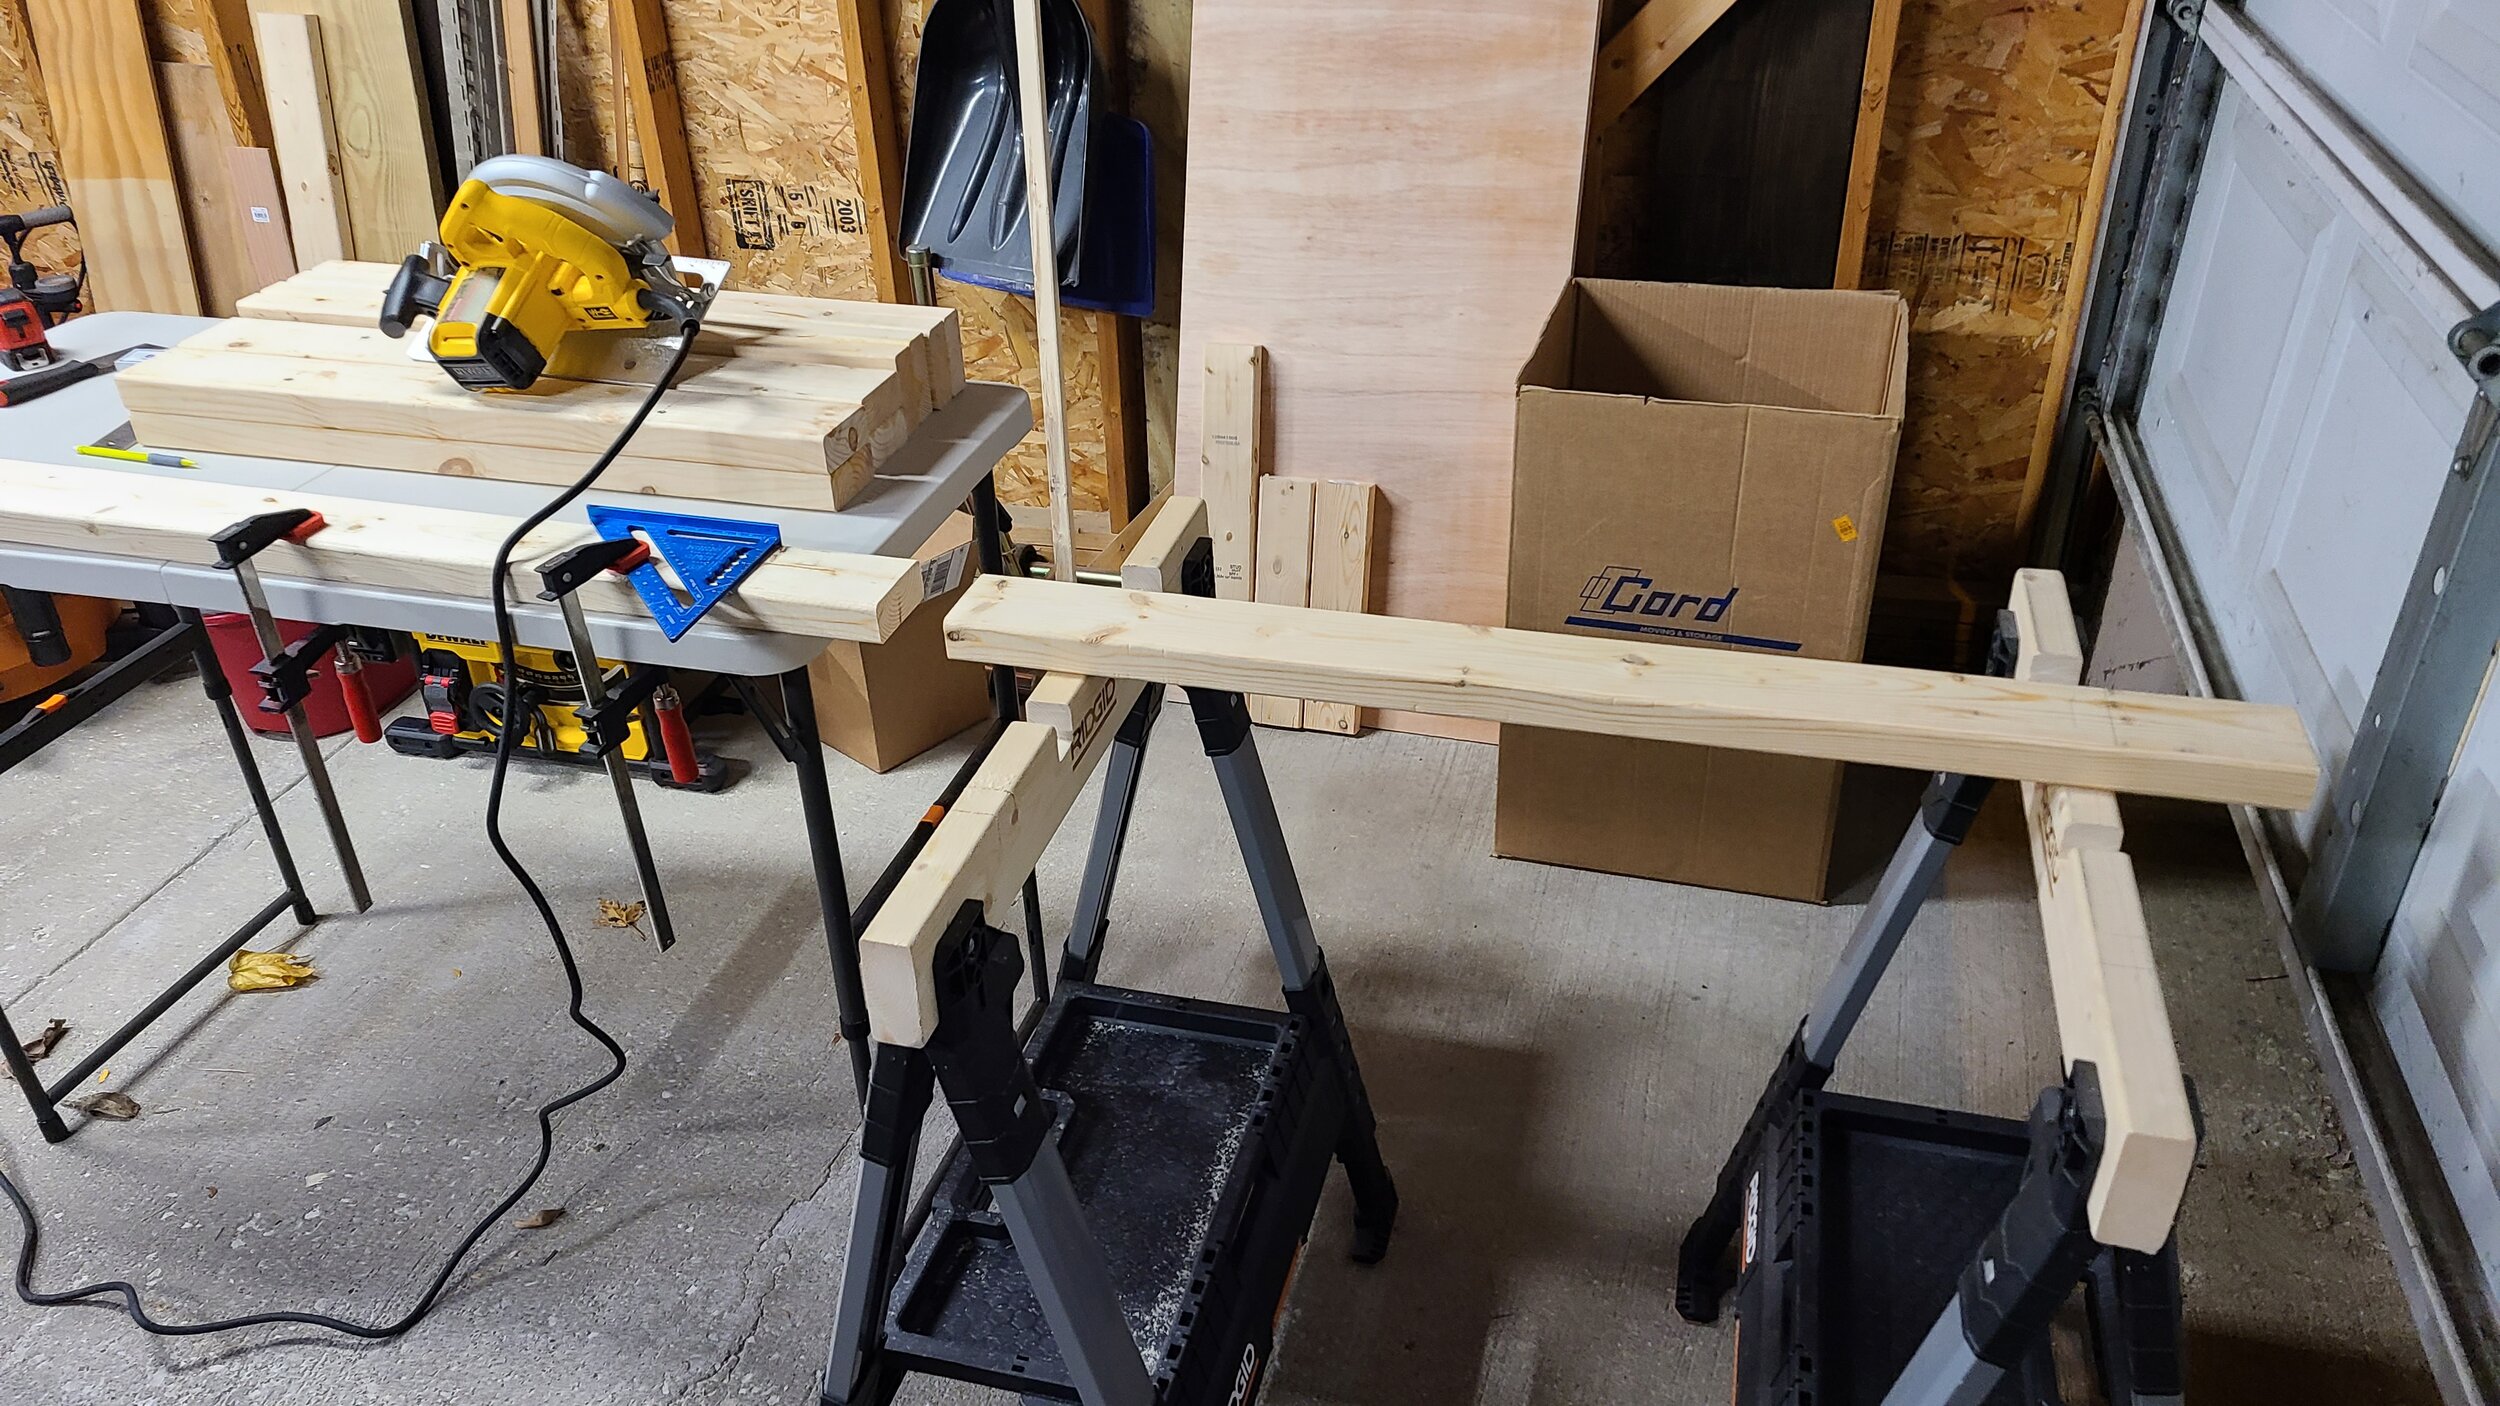
Making rough cuts with a circular saw
Rough cutting the 2 x 4s using a folding table and saw horses, then moving it to the table saw for the more accurate cuts worked well for me.

Gluing the wood
Another first, wood glue. I didn’t know how much or what to get, but this size and type seemed to be perfect for this project. I ended up using almost all of it between gluing the legs and tabletop.

Testing my plywood sheets
I probably could have done a better job of selecting better plywood sheets. One of them was a bit bowed, knowing nothing about how this works, I figured I could get the bow out with copious amounts of glue and clamps.

Glue makes a mess
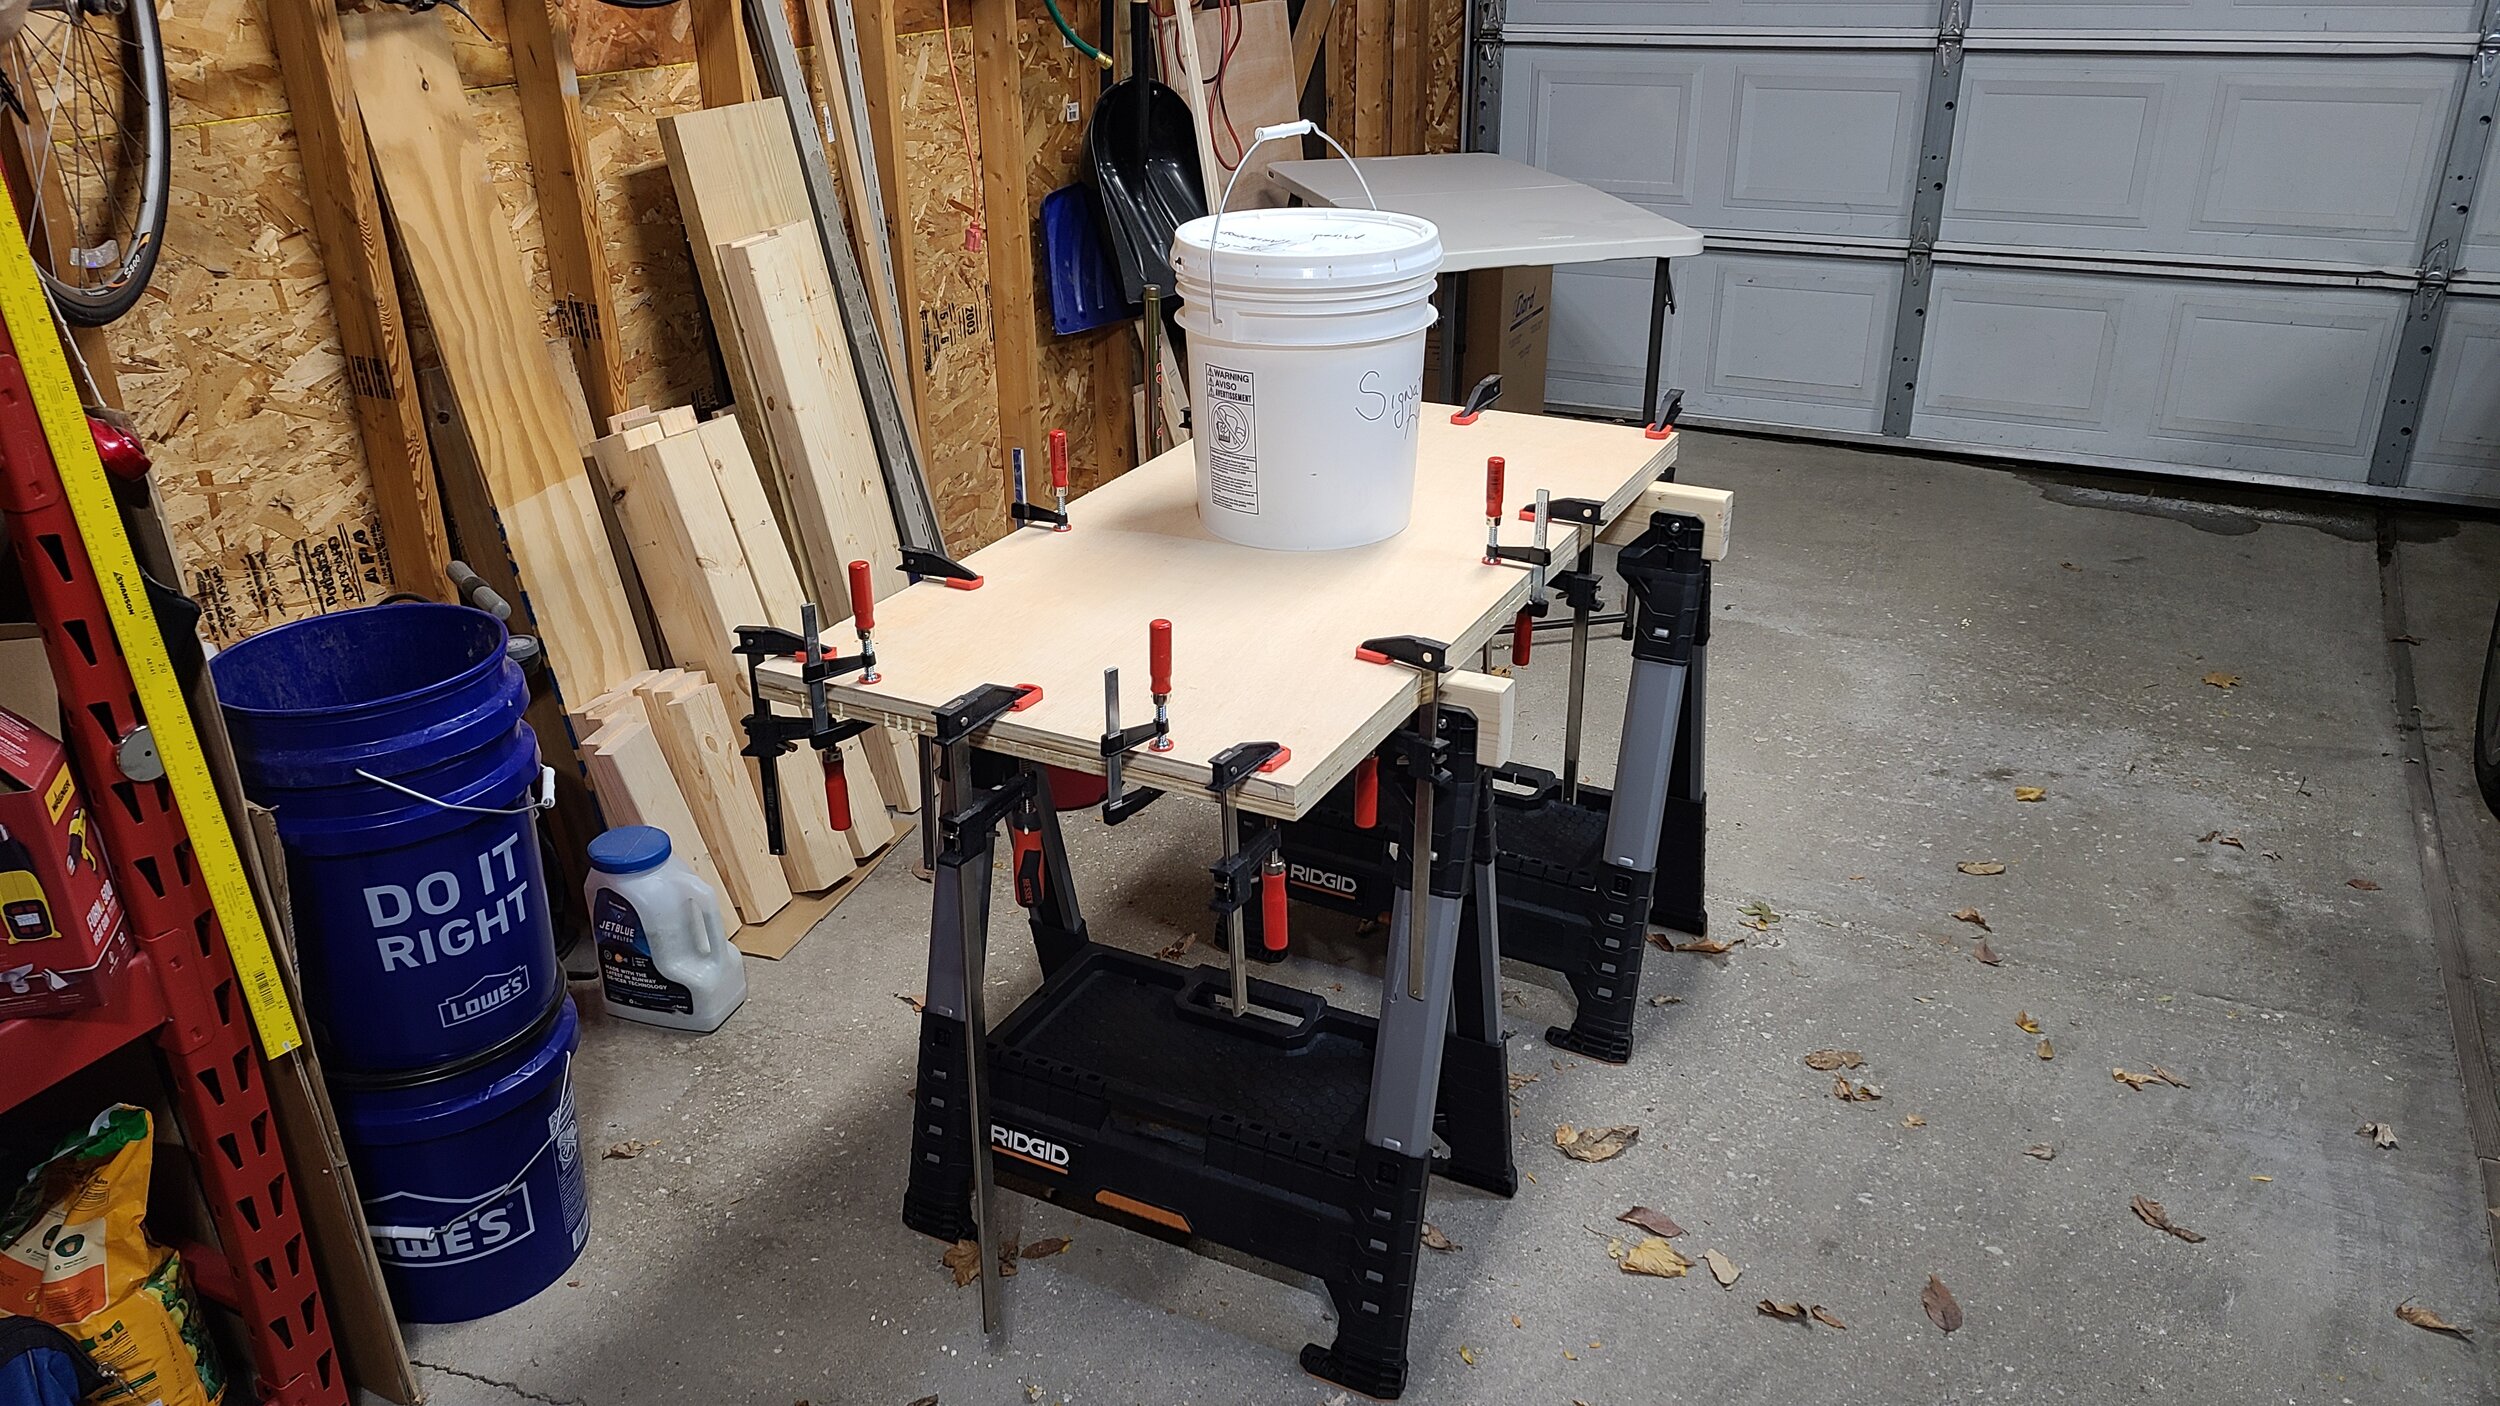
I let it sit like this over night

Sanding things
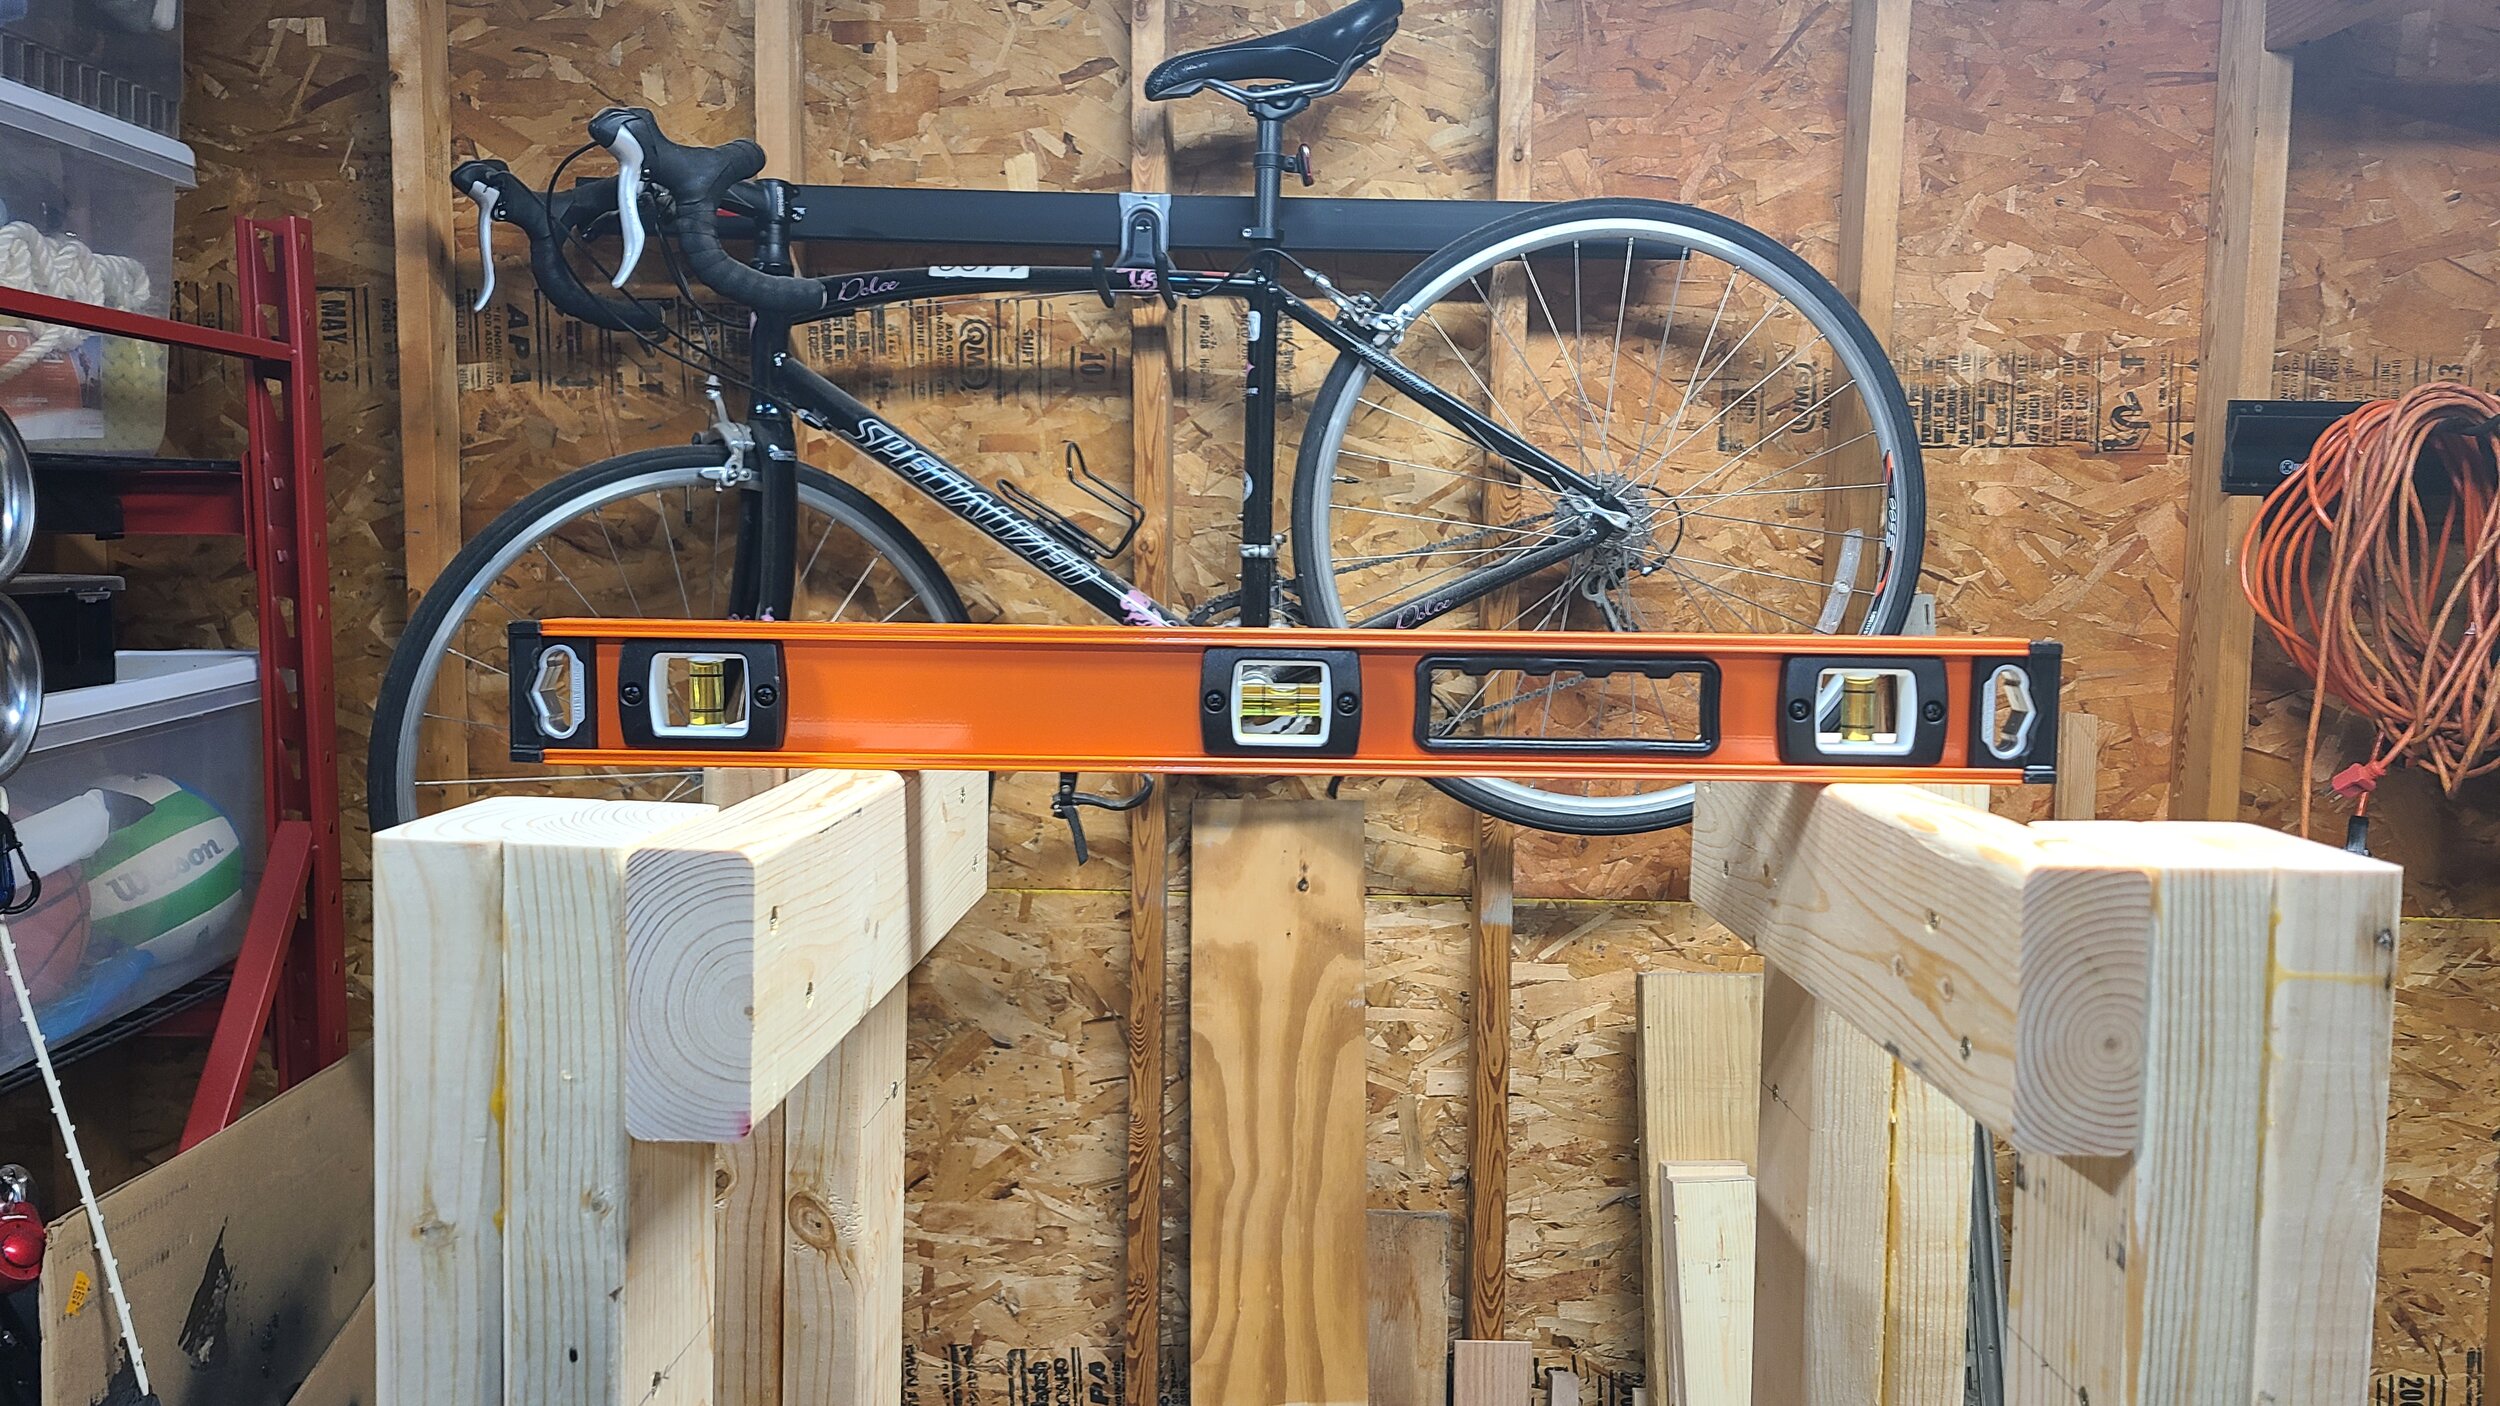
Above are the four table legs, the plans call for two 30” 2x4s to be glued and screwed together to form each leg. I thought I did a good job of getting each piece to 30”, but there were some minor inconsistencies in my cutting. To remedy the situation I clamped them all together then used the random orbit sander on the end to line everything up, which took forever (there has to be a better way). After all of that sanding the legs are closer to 29 15/16th” long.

Building the leg assemblies
Its actually almost level!
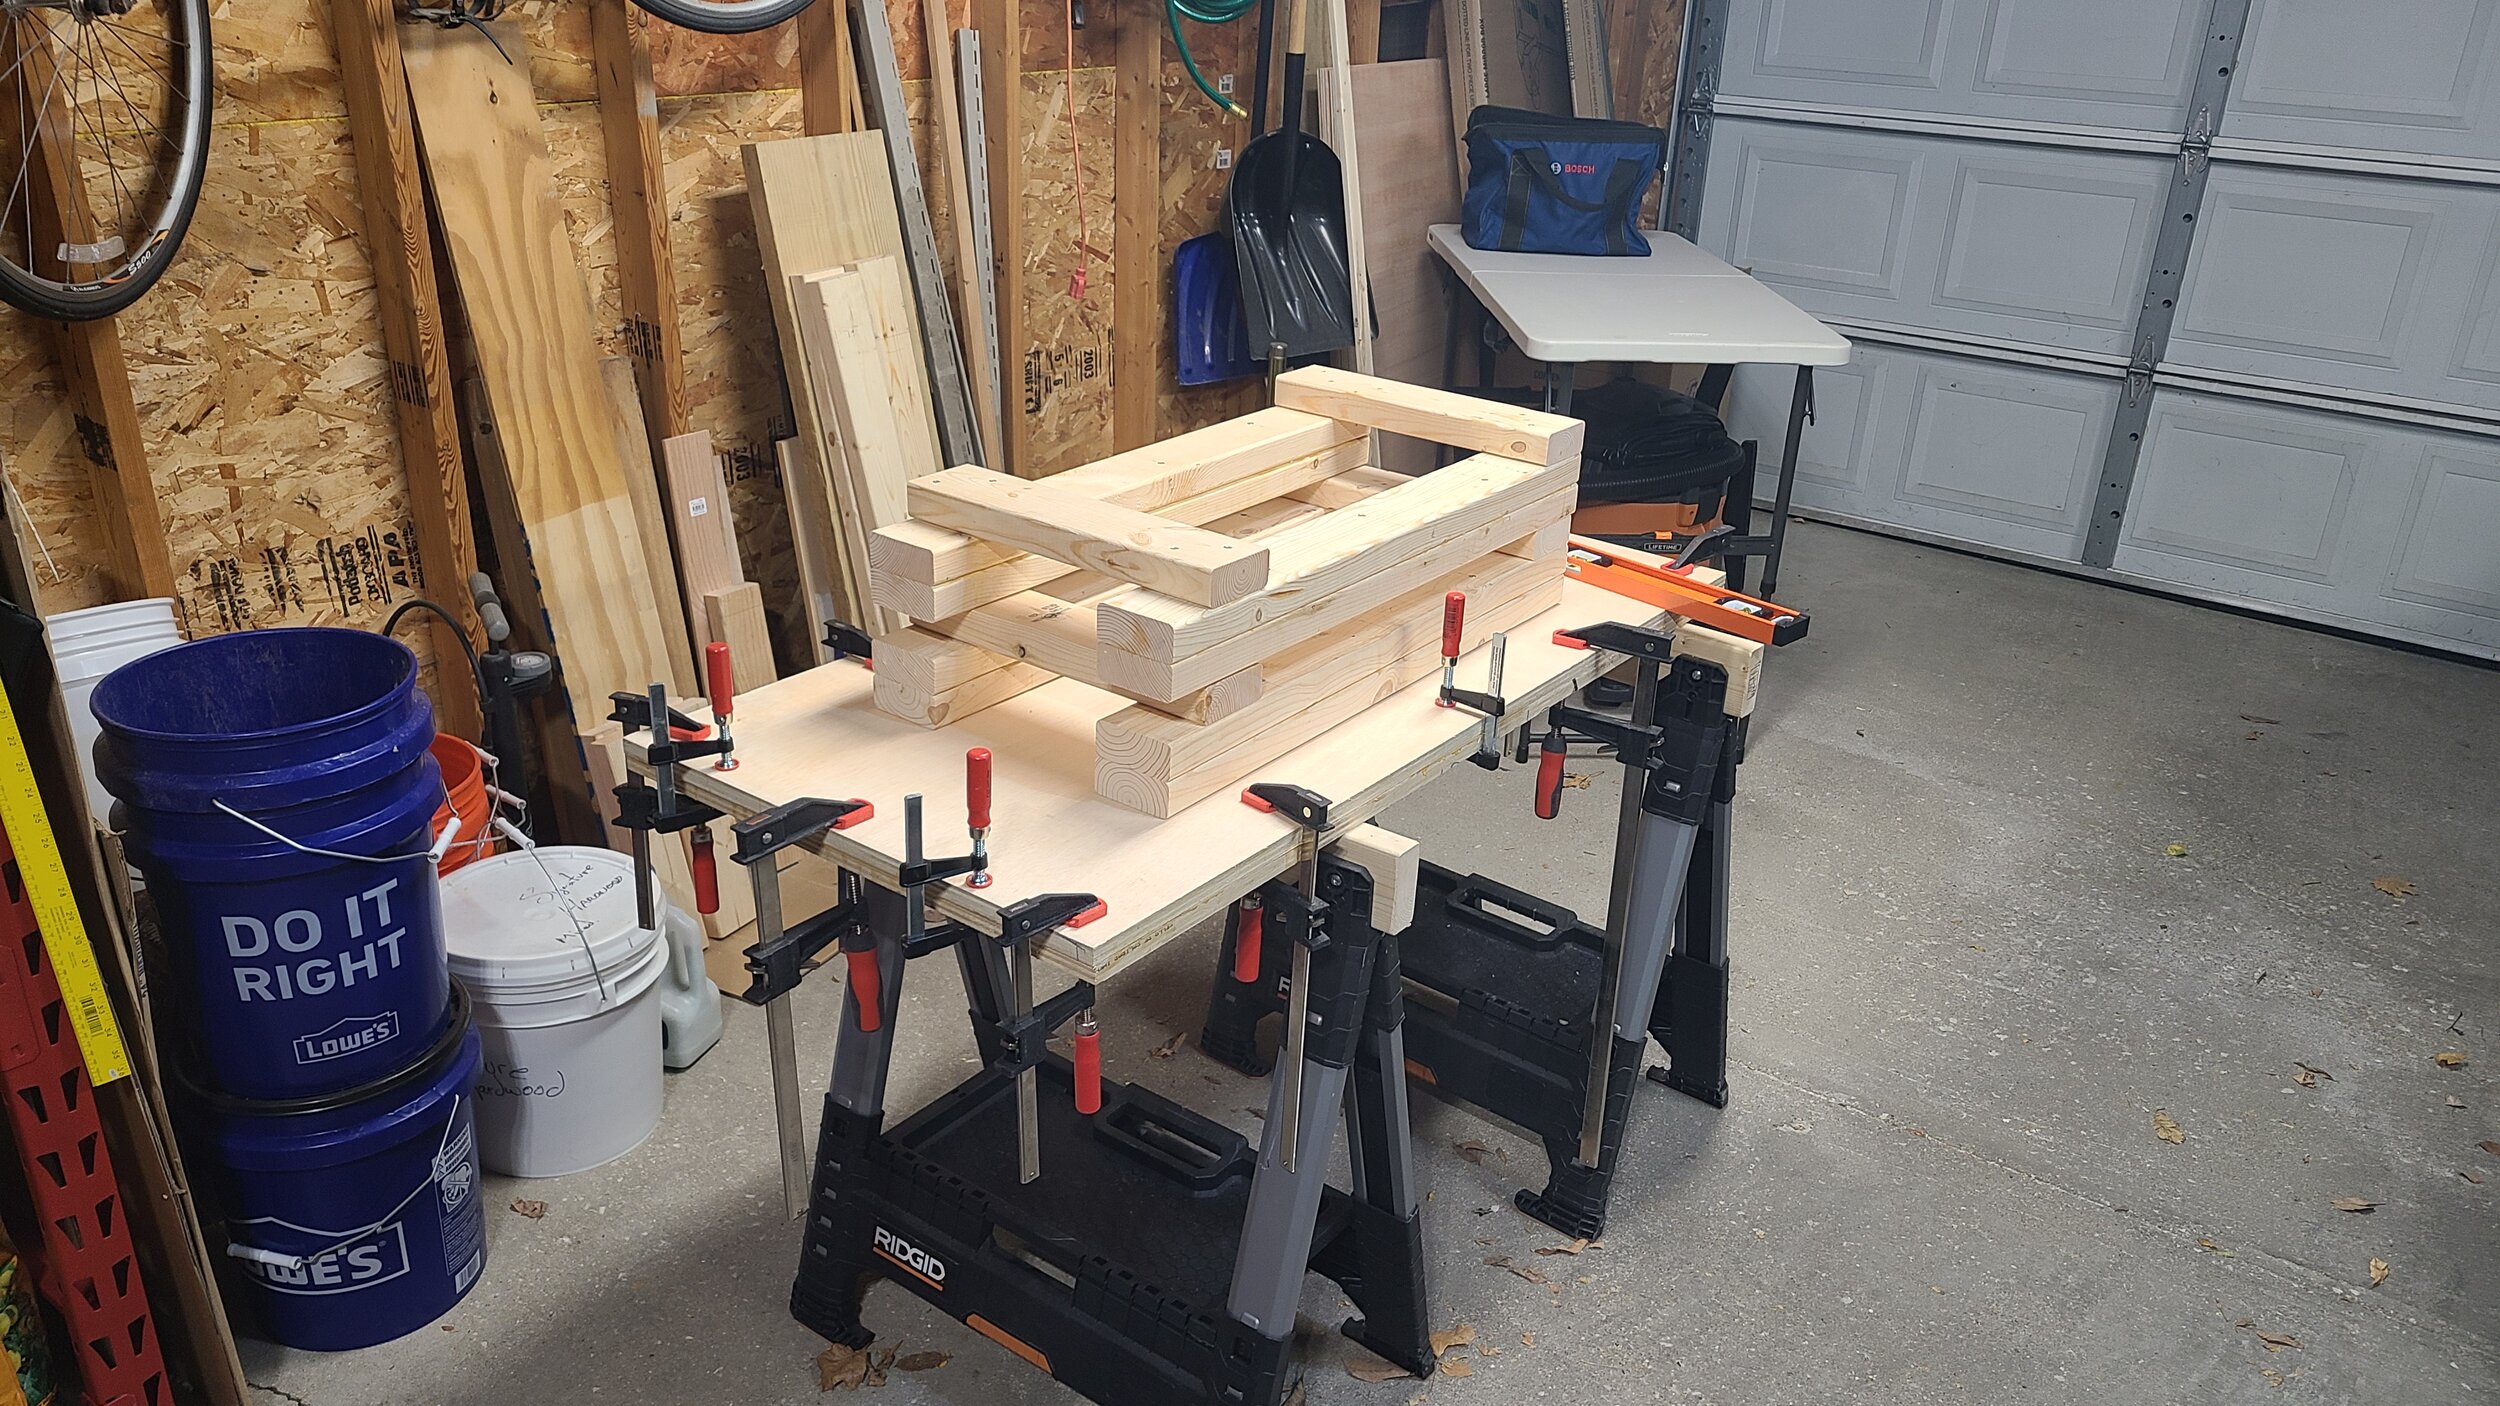
Finished up for the night, day 3 in the bag
I’m really happy with the progress I’ve made so far. I did make a mistake cutting one of my 2x4s so my next step is to go back to the home center to pick up another one. But that will have to wait till tomorrow.